As an Amazon Associate, we earn from qualifying purchases. Some links on this site are affiliate links at no extra cost to you. Our recommendations are based on thorough research and editorial judgment.
How to Replace the Solenoid When Your Timer Won’t Open the Valve
To replace the solenoid when your timer will not open the valve, first turn off the water supply and guarantee the timer is off. Disconnect the wires from the old solenoid, noting their positions. Use a multimeter to guarantee power is off before removing the solenoid. Clean the mounting area, then align and hand-tighten the new solenoid. Finally, restore power and activate the timer, verifying proper function by manually testing the valve. Further guidance is available.
Key Takeaways
- Turn off the water supply and ensure the timer is deactivated before starting the solenoid replacement process.
- Disconnect the existing solenoid wires, noting their positions for correct reconnection later.
- Remove the old solenoid using a screwdriver, ensuring to check for any debris in the threads.
- Install the new solenoid by hand-tightening it clockwise, avoiding excessive force to prevent damage.
- Test the new solenoid by reprogramming the timer and manually activating the valve using the bleed screw.
Understanding the Role of the Solenoid in Irrigation Valves
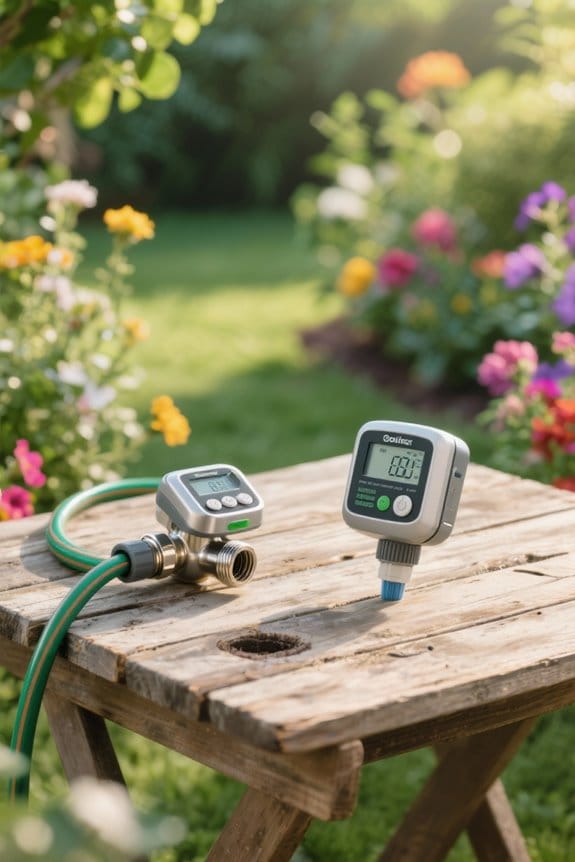
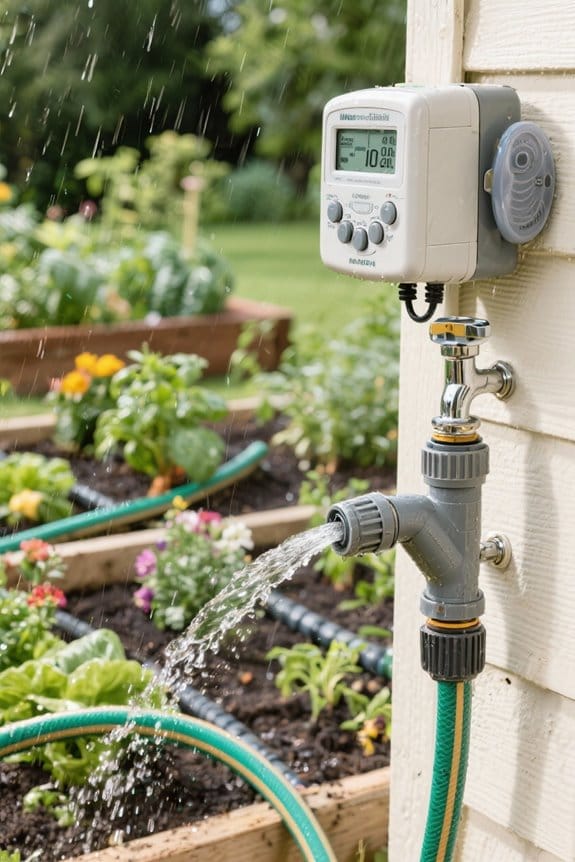
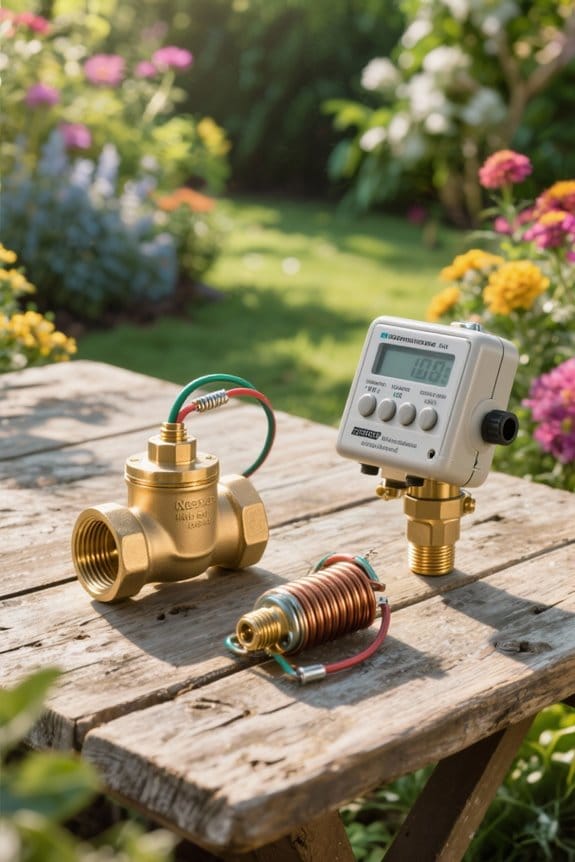
Understanding the role of the solenoid in irrigation valves is essential for effective water management in landscaping and agricultural applications. The solenoid is an important electromagnetic component that converts electrical energy into mechanical movement, allowing the valve body to open or close. When voltage is applied, it generates a magnetic field that pulls a plunger, facilitating water flow. Common solenoid resistance values range from 20 to 60 ohms; values outside this range may indicate necessary inspections for shorts or open circuits. A malfunctioning solenoid can lead to inadequate water distribution or persistent leaks. Proper installation is critical, as dirt accumulation or deteriorated O-rings can obstruct function, thereby affecting the overall performance of the valve body in the irrigation system. For lawns, using fast germinating mixes can ensure rapid grass growth, aiding in maintaining a lush and evenly irrigated landscape.
Recommended Products

This highly responsive valve will open and close in less than 1 second when actuated; meaning it will open or close the flow instantaneously when energized or de-energized. Also, our U.S. SOLID engineers have determined that the life cycle of this

Effortless Convenience: Eliminate the hassle of manual filling with a hose and enjoy a consistently maintained water level without any effort.

This highly responsive valve will open and close in less than 1 second when actuated; meaning it will open or close the flow instantaneously when energized or de-energized. Also, our U.S. SOLID engineers have determined that the life cycle of this
Tools and Materials Needed for Solenoid Replacement
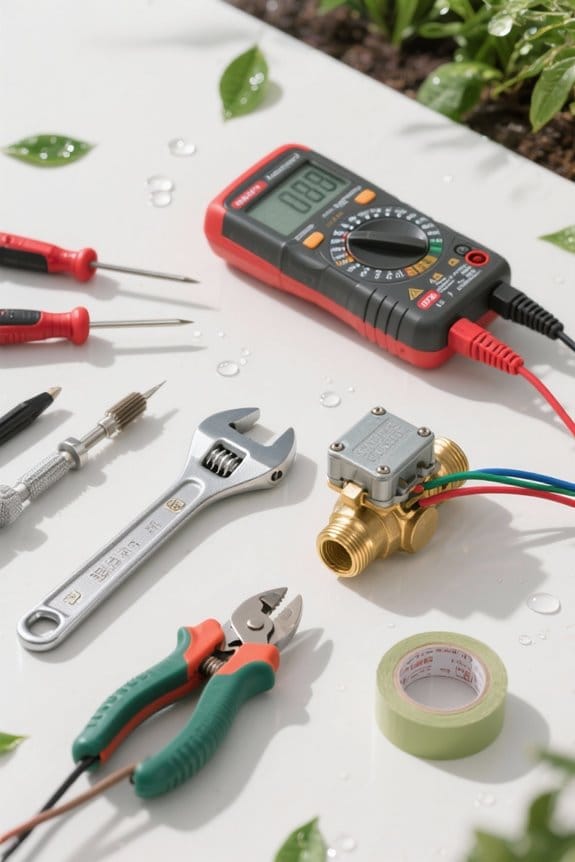
Replacing a solenoid in an irrigation valve requires specific tools and materials for effective execution. Essential tools include a digital multimeter for electrical testing, a screwdriver for solenoid removal, and a wrench for adjustments. Additionally, a replacement solenoid compatible with the valve model is necessary to guarantee proper functioning. It is also advisable to have a clean cloth or paper towels to wipe off any debris or moisture from the valve assembly during the process. Teflon tape or pipe thread sealant will aid in creating leak-proof connections when reattaching the solenoid. Finally, a pair of protective gloves should be worn for safety against sharp components or potential chemical exposure while you check the solenoid. For optimal performance, ensure the replacement solenoid is suitable for maximum operating pressures specified by the manufacturer to prevent any potential malfunctions.
Recommended Products

SAFE AND RELIABLE – Made from SS304 NSF Certified 304SS and NSF certified, this ball valve is safe for drinking water. It has a lifespan of 80,000 to 100,000 cycles

Replacement latching solenoid for TBOS and TBOS-II battery-operated irrigation controllers

For converting a manual irrigation valve into an automatic irrigation valve Valve features 24 VAC solenoid, manual actuation lever, and flow control Brass threads with valve bodies available in both PVC and brass body versions Compatible with controllers from Orbit, Hydro-Rain, and other major brands
Step-by-Step Guide to Removing the Old Solenoid

When preparing to remove an old solenoid from an irrigation valve, several essential steps must be followed to guarantee a safe and efficient process. First, make certain the water supply is turned off and the timer is set to the off position. This prevents accidental activation during solenoid replacement. Next, disconnect the wires from the old solenoid, carefully noting their positions, and confirm that the power is off using a multimeter. Then, using a wrench, carefully unscrew the old solenoid from the valve, taking care not to damage the valve body while disassembling the valve. Finally, inspect the threads of the solenoid opening for any debris or damages to ensure a proper seal for the upcoming installation. For further gardening success, consider using open pollinated seeds to enhance sustainability and adaptability in your garden.
Recommended Products

💧 Smart Design: A two-piece structure with a 4-zone wireless valve controller and a 4-zone valve & flow meter unit. Four built-in valves and flow meters ensure precise control and monitoring of water usage across multiple garden zones

For automatically synchronizing an irrigation pump and sprinkler controller

For controlling the flow of water in sprinkler or drip irrigation zones; 24 VAC solenoid includes manual actuation with a twist of the solenoid
Installing the New Solenoid
After the old solenoid has been successfully removed, the next steps in the installation process are straightforward yet important. First, verify the valve is completely off and unplugged to avoid electrical shock. Clean the solenoid mounting area thoroughly, removing any debris or old sealant. This preparation guarantees a tight and leak-free fit for the new solenoid. Next, carefully align the new solenoid with the valve body, taking care that the threads match. Hand-tighten it clockwise until it feels secure, but avoid over-tightening to prevent damage. For optimal performance, ensure that durable materials are used in the solenoid construction to withstand environmental factors. After installation, restore power to the system. Finally, activate the timer to test the new solenoid and confirm that it properly opens and closes the valve, completing the installation process efficiently.
Recommended Products

Includes Camber plates, adjustable lower mounts (Double bellow air springs Front and Rear)

Includes Camber plates, adjustable lower mounts(Double bellow front, Sleeve rear air springs)

Includes camber plates (Double bellow air springs)
Testing the Valve After Replacement

Testing the valve after replacing the solenoid is essential to guarantee proper functionality and long-term reliability. Begin by manually activating the valve using the bleed screw, listening for the sound of water flow to confirm operation without blockages. Next, inspect all wire connections to verify they are clean and securely attached, providing reliable electrical flow to the new solenoid. Utilize a multimeter to test the solenoid’s resistance, confirming it meets the manufacturer’s specifications. If the valve operates manually, proceed to reprogram the timer, confirming it can send accurate signals to the solenoid for automated operation. Consider selecting weather-resistant materials for any outdoor valve components to enhance durability and performance in various conditions. This systematic approach helps identify potential issues early and assures the system works effectively after maintenance.
Recommended Products

SAFE AND RELIABLE- Made of brass, with NSF certification, this ball valve is safe for drinking water; Lifespan is 80,000-100,000 cycles.

SAFE AND RELIABLE – Made from SS304 NSF Certified 304SS and NSF certified, this ball valve is safe for drinking water. It has a lifespan of 80,000 to 100,000 cycles

For battery-powered operation of up to 4 automatic sprinkler or drip valves
Frequently Asked Questions
How to Fix a Stuck Closed Solenoid Valve?
A stuck closed solenoid valve can feel like an iron fortress. To overcome this, thorough solenoid maintenance, valve troubleshooting, and checking for debris, connections, and wear can reinstate functionality, ensuring smooth operations once again.
Why Is My Solenoid Valve Not Opening?
A solenoid valve may not open due to electrical faults, blockages, or mechanical failures. Effective valve troubleshooting and regular solenoid maintenance can help identify and resolve these issues to guarantee proper functionality.
How Do You Force Open a Solenoid Valve?
To force open a solenoid valve, one might cautiously turn the flow control screw counterclockwise, observing the solenoid functionality. If unsuccessful, troubleshooting techniques include disconnecting the solenoid and applying direct voltage. Secrets of restoration await.
How Do You Manually Reset a Solenoid?
To manually reset a solenoid, the user should turn off the power supply, locate the solenoid, unscrew it if necessary, and use the manual bleed screw for solenoid troubleshooting to release pressure and reset.