As an Amazon Associate, we earn from qualifying purchases. Some links on this site are affiliate links at no extra cost to you. Our recommendations are based on thorough research and editorial judgment.

How to Build a Raised Bed With Built-In Irrigation Lines
To build a raised bed with built-in irrigation lines, first, plan the bed dimensions, ideally 4 feet wide for accessibility. Gather essential supplies, including a drip irrigation kit, tubing, and connectors. Install drip lines spaced 6, 9, or 12 inches apart, connecting them with 1/2-inch tubing and secured fittings. Attach the system to a water source and include an automatic timer for consistent watering. Regular maintenance checks will promote peak performance and plant health. Further details follow.
Key Takeaways
- Determine ideal raised bed dimensions, keeping widths around 4 feet for easy access to plants and irrigation lines.
- Gather necessary supplies like a drip irrigation kit, tubing, connectors, and an automatic timer for efficient installation.
- Install 1/2-inch tubing with elbows and T connectors, ensuring secure, leak-free connections using plumber’s tape.
- Maintain the irrigation system by checking timer batteries, detecting leaks monthly, and adjusting watering frequency based on seasonal conditions.
- Use diagnostic tools to monitor soil moisture, preventing overwatering and ensuring healthy plant growth throughout the season.
Planning Your Raised Bed Layout
When planning the layout of a raised bed, how does one guarantee both functionality and ease of access? First, determine the dimensions of your raised garden beds, ideally around 4 feet wide. This width allows for easy access from either side, promoting maintenance and harvesting without soil compaction. Next, plan the placement of your irrigation system, ensuring that drip lines run parallel to plant rows, spaced 6 to 12 inches apart for even water distribution. Additionally, identify where the water source will connect to the system, making sure timers and controls are easily accessible. Finally, sketch pathways around the raised bed, facilitating movement within the garden space while promoting airflow and light efficiency for best plant growth. Consider incorporating automatic plant waterers to ease management and ensure consistent watering schedules for optimal plant health.
Essential Supplies for Built-In Irrigation
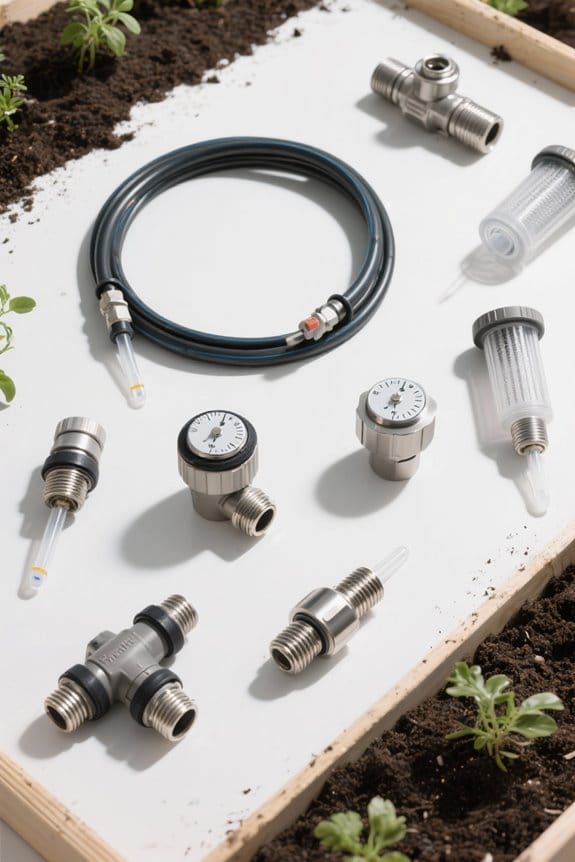
Building a raised bed with built-in irrigation requires careful selection of supplies to guarantee efficient watering. Essential components include a drip irrigation kit, tubing, T connectors, and a pressure regulator to manage water flow. A reliable water supply is vital, and an automatic timer can automate the irrigation schedule, ensuring consistent moisture. Additionally, plumbers tape is necessary for secure, leak-free connections between the tubing and fittings, preventing water loss. To secure the irrigation lines, landscaping pins, and stakes may be used. Finally, plan the layout of the tubing based on the raised bed’s dimensions and the types of plants to optimize water distribution, ensuring all areas receive adequate moisture throughout the growing season. Many micro drip irrigation systems feature quick-connect fittings, which simplify installation and contribute to both time-saving and efficiency.
Recommended Products

Standard 3/4" Garden Hose Thread Connections

AUTOMATIC DRIP IRRIGATION: Automate your watering without power, batteries, pumps, or timers; Save time, water, and nutrients; Provide healthier, more potent, and faster-growing plants
Comprehensive Kit: Includes everything needed for a functional drip irrigation system, perfect for small farms
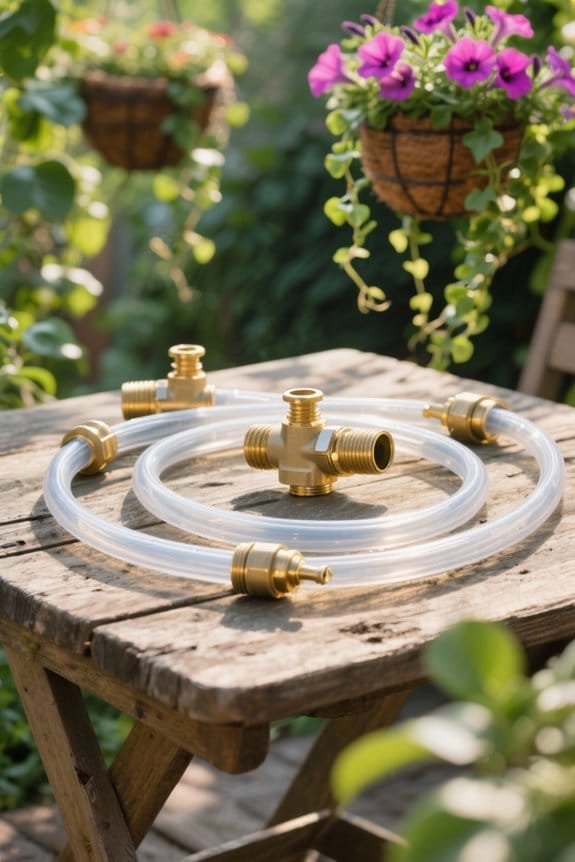
Connecting Tubing and Elbows
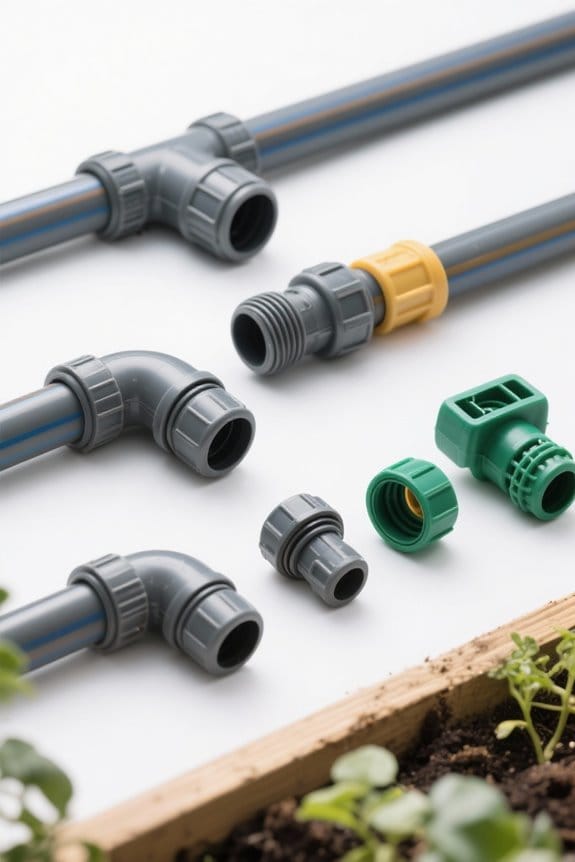
Connecting the irrigation tubing and elbows is a critical step toward ensuring effective water distribution in a raised bed garden. Begin by planning the water entry points to optimize the irrigation layout. Use 1/2-inch tubing to connect elbow fittings to the tee connectors at the corners of the raised bed, ensuring a secure fit. It is essential to fully insert the tubing into the compression fittings, as this prevents leaks and guarantees proper water flow. For easier layout, straighten any coiled tubing and temporarily hold it in place with stakes or rocks until it warms. Finally, secure the tubing to the garden bed using barbed connectors, which will allow for attaching drip lines designed for even water distribution. To enhance your irrigation system’s sustainability practices, consider using components that promote water conservation and reduce waste.
Recommended Products

MATERIAL: Made from premium grade white polyethylene (PE), this tubing offers durability and long-lasting performance for irrigation applications.


16 mm dripline with 0.92 GPH pressure-compensating emitters – Delivers consistent, low-volume water directly to plant root zones for efficient subsurface and surface drip irrigation.
Installing Drip Lines for Efficient Watering
To achieve efficient watering in a raised bed garden, the installation of drip lines is essential. Begin by determining the water entry point and using 1/2-inch tubing, connected to elbows at the corners for strategic layout. Select drip lines with emitters spaced 6, 9, or 12 inches apart, ensuring consistent hydration across the raised beds. Attach these lines to the perimeter tubing with barbed connectors for a secure fit. It is important to secure the tubing in place with stakes or rocks, allowing for proper straightening and water distribution. Incorporate tees to connect multiple beds, and bury the tubing slightly to protect it while maintaining proper water flow with well-placed fittings and caps for an efficient irrigation system. For optimal performance, consider using pressure regulators to maintain consistent water pressure throughout the system, as excess pressure may necessitate additional components to ensure efficient operation.
Recommended Products

For making connections of 1/2-inch drip tubing in a variety of landscape designs
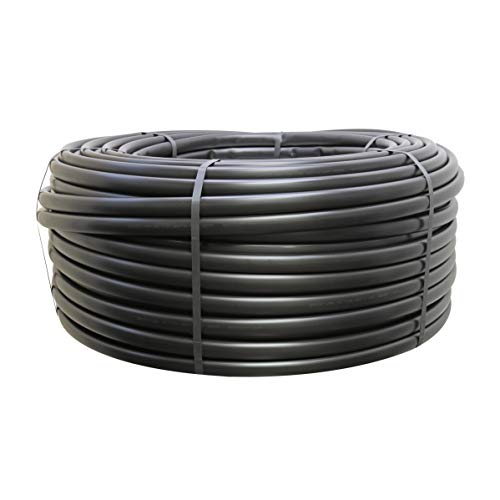
AGRICULTURAL GRADE QUALITY: Made from the highest quality polyethylene resins, this tubing meets the demands of commercial growers and home gardeners alike.

Burying and Securing Tubing

Burying irrigation tubing slightly below the soil surface enhances durability and minimizes the risk of damage, ensuring reliable water delivery to plant roots. To effectively bury the line, create a trench approximately 4 to 6 inches deep within the raised beds, allowing enough depth for support and concealment. Secure the tubing in place using landscaping pins; this prevents movement and maintains consistent water distribution as the soil settles. Connections should be properly fitted, with the tubing fully inserted into compression fittings to prevent leaks. For those using multiple raised beds, consider incorporating tees to connect the irrigation lines, enhancing the overall watering system’s efficiency while ensuring adequate coverage throughout the garden. An automatic watering system timer can further improve efficiency by providing customizable schedules and reducing manual watering tasks, making it ideal for busy individuals or those with multiple raised beds.
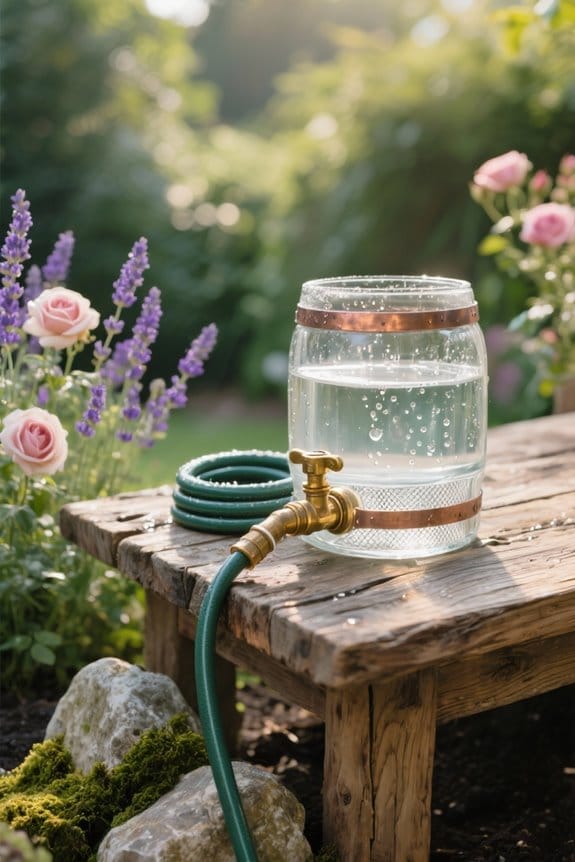
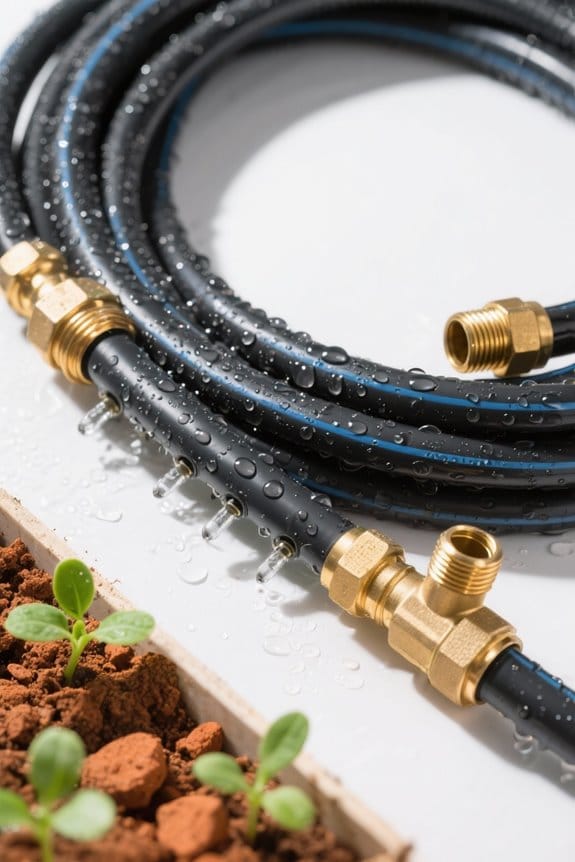
Connecting to a Water Source
Establishing a reliable connection to a water source is essential for an effective irrigation system. Begin by attaching tubing to an elbow fitting at the end of each raised bed, which creates a water entry point. To protect the tubing, bury it slightly below the surface during installation. For an efficient garden layout, utilize tees to connect multiple raised beds together, allowing even water distribution. It’s vital to cap the ends of the lines, which maintains proper water flow and prevents leaks when not in use. Consider adding pressure regulators and filters to optimize the flow rate and maintain system integrity before connecting the tubing to the water source, ensuring a well-managed irrigation system for all plants. Advanced irrigation systems often feature weather-smart technology that automatically adjusts watering schedules based on current weather conditions, enhancing water conservation and efficiency.
Recommended Products

Remote app control from your phone for all functions

Kit includes: 300 ft; of 1-Inch Tubing, (3) Air Outlet Kits, (2) Tee Fittings, 1-Inch NPT Straight Fitting, (30) Pipe Clips, Debar and Cutter Tool.
Setting Up an Automatic Timer
Setting up an automatic timer enhances the efficiency of an irrigation system for raised beds, ensuring plants receive consistent moisture. To begin, connect the timer to the T connector, which is attached to the spigot, to manage water flow automatically. It is advisable to program the timer for early morning operation, around 4 or 5 a.m., to optimize water usage and reduce evaporation. Adjust the timer’s settings to provide approximately 1 inch of water per week based on the plants’ requirements. Additionally, check the timer’s battery and functionality every six months to maintain reliable operation. Consider making seasonal adjustments, increasing the irrigation frequency during hotter months and decreasing it as temperatures cool, ensuring the watering schedule remains effective throughout the growing season. For added efficiency, consider using a smart sprinkler timer that adjusts watering based on local weather, saving water and resources.
Recommended Products

LARGE AREA WATERING MADE EASY - Our heavy-duty sprinkler on tripod covers your yard with up to a 360-degree rotation, ensuring even water distribution for a healthy and lush lawn.

DITCH THE DIAL – Upgrade to smart irrigation with the free Rachio app for precise, easy control.

Fast to install-factory-installed plug-and-go power cord means no in-field transformer wiring is required
Maintaining Your Irrigation System for Success
To guarantee long-term success with an irrigation system for raised beds, regular maintenance is vital. Gardeners should check the battery levels of automatic timers every six months to confirm consistent operation. Monthly observations of the irrigation system’s full cycle allow for the identification of leaks or areas needing adjustment to maintain adequate water delivery. Seasonal adjustments to the watering schedule are essential; increase frequency during extreme heat, and reduce it during cooler periods for efficient water usage. Additionally, evaluating soil surface conditions for dryness or excess moisture should guide necessary adjustments. Promptly addressing leaks and issues detected during maintenance checks prevents water waste, ultimately promoting healthy plant growth and confirming the irrigation system functions effectively over time. It is also important to choose hoses free from lead and phthalates to ensure safety and prevent harmful leaching in your irrigation system.
Frequently Asked Questions
What Is the 30 30 Rule for Irrigation?
The 30-30 rule for irrigation promotes irrigation efficiency by ensuring 30% of water needs are met by rainfall and 70% through irrigation, enhancing plant health, conserving water, and maintaining ideal soil moisture in raised bed design.
What Are the Disadvantages of a Wicking Bed?
Despite notable soil moisture retention and improved crop yields, a wicking bed presents disadvantages like high material costs, complex maintenance requirements, and risks of clogs or root rot, challenging growers to weigh benefits against potential pitfalls.
What Is the Best Irrigation System for Raised Beds?
Drip irrigation stands out among irrigation system options for raised beds due to its water conservation strategies, efficient moisture distribution, and reduced garden maintenance requirements. Its benefits include deeper watering and tailored emitter spacing for diverse plant needs.
What Is the 200 Rule for Drip Irrigation?
Like a conductor orchestrating harmony, the 200 Rule for drip irrigation balances water conservation and crop growth. Ensuring soil moisture through proper emitter spacing enhances drip efficiency while simplifying system maintenance for thriving gardens.