As an Amazon Associate, we earn from qualifying purchases. Some links on this site are affiliate links at no extra cost to you. Our recommendations are based on thorough research and editorial judgment.

How to Properly Winterize Your Soaker Hoses for Next Spring
To properly winterize soaker hoses, first detach them from the spigot. Next, hold one end upright and walk down the hose to guarantee complete drainage. Securely coil the drained hose into a three-foot diameter loop, and store it in a dry, sheltered space, such as a garage. Use end caps to block pest entry points. During winter, regularly check for damage. Following these steps prepares hoses for efficient spring use, and further considerations can enhance readiness.
Key Takeaways
- Detach hoses from the spigot and fully drain water by walking down the hose to prevent freezing damage.
- Run water through the hoses to clear sediment and ensure they are ready for spring use.
- Coil hoses into a three-foot diameter loop, secure with a tie wrap, and store in a dry, sheltered area.
- Cover the hose ends with end caps to keep pests out and ensure hoses are completely dry before storage.
- Inspect hoses regularly during winter for signs of damage, and allow any frozen hoses to thaw naturally before moving them.
Importance of Winterizing Soaker Hoses
Winterizing soaker hoses is essential for maintaining their functionality and longevity, particularly as water left inside can freeze during colder months. This freezing water can cause ruptures and leaks, rendering the hoses unusable when spring arrives. Proper winterization involves draining the hoses completely and storing them in a location protected from sunlight to prevent deterioration. Covering or burying the hoses offers insulation that can further maintain their integrity during freezing temperatures. UV stabilization prevents aging and cracking from sunlight exposure, which is crucial for hose longevity. Additionally, running water through the hoses before winterization helps clear away sediment, ensuring they are ready for immediate use. Finally, marking the ends of buried hoses allows for easier retrieval come spring, providing gardeners with peace of mind regarding their irrigation systems’ performance.
Steps to Disconnect and Drain Hoses
To effectively disconnect and drain soaker hoses, begin by detaching the hose from the spigot, ensuring both ends are clearly accessible. Next, hold one end of the hose upright and walk down its length, allowing gravity to assist in draining any remaining water. This process prevents water from freezing within the irrigation lines during winter preparation. Confirm that the hose is completely emptied to avoid potential damage. Consider running water through the hose beforehand to eliminate any debris or blockages, reducing moisture retention. After draining, bury the hose’s end in soil or mulch for insulation. Soaker hoses, especially those made from eco-friendly options, can significantly reduce water consumption and are safe for use around edible plants. Additionally, mark the hose ends’ locations to facilitate easy retrieval when preparing for spring gardening activities, ensuring a seamless shift for the upcoming season.
Recommended Products

【Thickened pipes,No Bursts】 - MIXC soaker hose is twice as thick as regular ones (1mm vs. 0.5mm), so it’s way stronger and won’t blow up even with high water pressure. Even if you drag it on rocky mountain trails, it won’t leak or crack. The material is sunproof too – it won’t melt or get brittle after sitting in the hot sun like cheaper hoses do.


Consistent & Even Watering Drip Irrigation Hose: Makes use of a clog-resistant fabric cover recyceld vinyl for consistent slow soaking seep throughout its entire length. Deliver water to the entire area that it covers. Only certain areas of your garden bed getting watered.For waste-free watering in garden beds and other tight spaces. Waters the base of the plants so less water-related leaf damage.
Proper Coiling and Storage Techniques
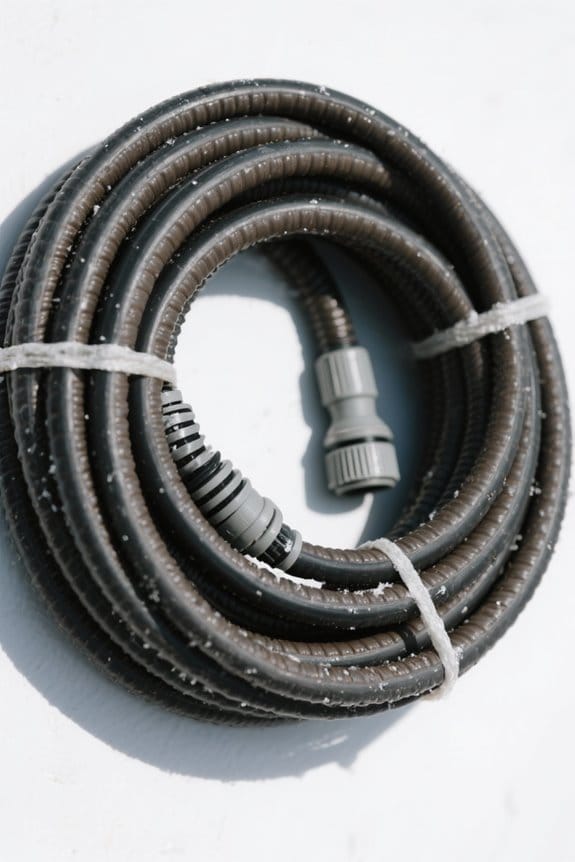
Proper coiling and storing soaker hoses is vital for maintaining their effectiveness and longevity. To begin, make sure the hoses are completely drained of water, as leftover water can freeze and cause blockages. Next, coil each hose into a three-foot diameter loop; tighter coils may damage the material, leading to cracks. Secure the coiled soaker hoses with a tie wrap to facilitate organization and prevent tangling during storage. It is important to store the hoses in a dry, sheltered location, such as a shed or garage, which protects them from weathering elements throughout the winter. Marking the ends of the hose will aid in retrieval during spring, making easy reconnection for when warmer weather returns. For durable materials that withstand harsh weather conditions, choosing hoses made from heavy-duty, UV-resistant materials can further enhance their longevity.
Recommended Products

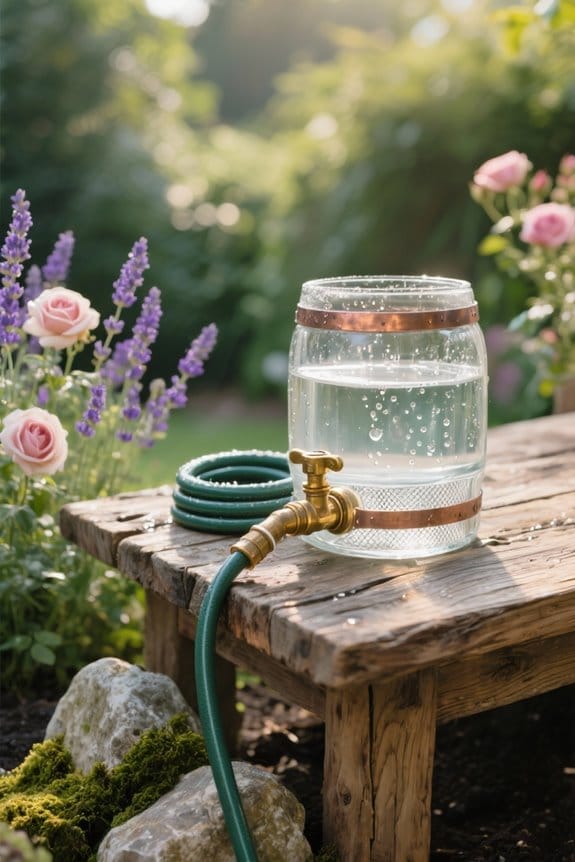
Water On Demand: Save water naturally for your lawn and garden using this faux wood rain barrel to collect rainwater from the gutter, made of durable plastic that resists weather and UV damage

Upgraded Design Hose Reel: PHLEX PRO hose reel offers versatile hose use with a pull-and-lock system to prevent retraction. After use, gently tug to engage the automatic rewind, which neatly organizes the hose for you. Swivel bracket and fixed metal pin, can be securely mounted on a solid wall, offering a 180-degree swivel for versatile, all-around watering

LIGHTEST, STRONGEST: 30% lighter and still rubber, AG-Lite is a professional grade next-generation rubber hose with a 10-Year replacement warranty. The lightest and strongest rubber garden hose on the market.
Protecting Hose Fittings From Pests
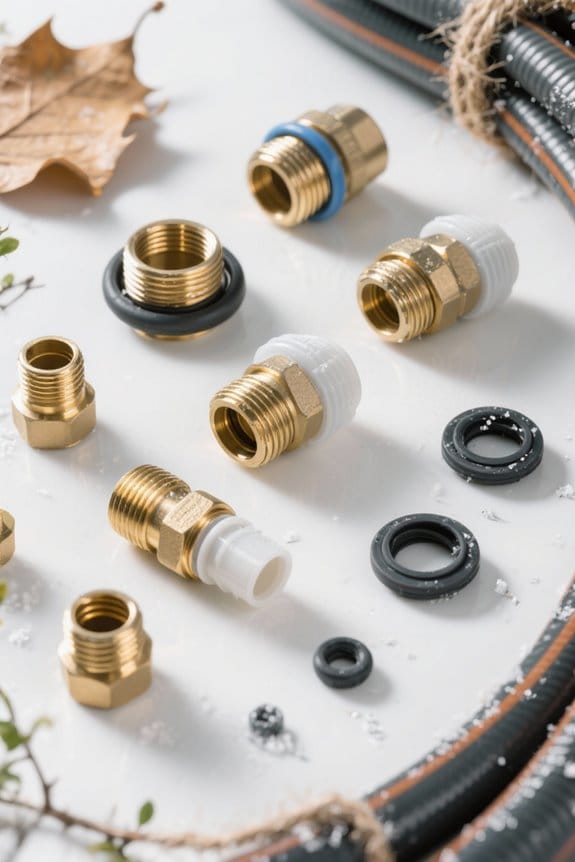
Maintaining the integrity of hose fittings is an important step in the winterization process. Installing end caps on hose couplings prevents pests from entering and nesting inside soaker hoses, potentially leading to irreparable damage. Before storing, verify that hoses are completely dry, as moisture increases the risk of mildew and compromises hose fittings. Regularly checking stored hoses during winter for signs of pest intrusion can avert costly replacements. Proper storage techniques, such as keeping hoses in a dry, sheltered location, provide additional safeguards against pest damage. In addition, inspect hose fittings for cracks or damage, as these can create entry points for pests, threatening the functionality of the hoses. Zinnias are known for their vibrant colors and ease of growth, making them a popular choice for gardeners looking to add a splash of color to their gardens. Taking these precautions is essential for effective winterization.
Recommended Products
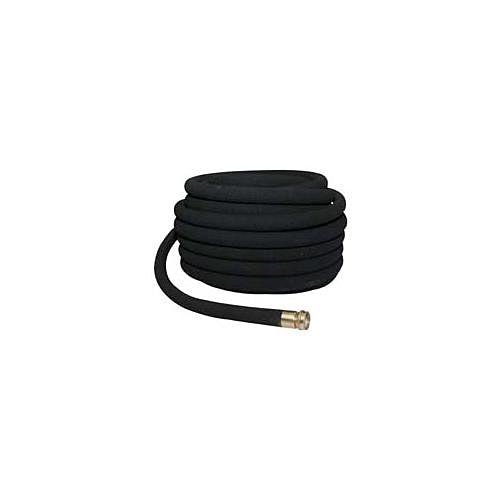
Garden soaking hose

Consistent & Even Watering Drip Irrigation Hose: Makes use of a clog-resistant fabric cover recyceld vinyl for consistent slow soaking seep throughout its entire length. Deliver water to the entire area that it covers. Only certain areas of your garden bed getting watered.For waste-free watering in garden beds and other tight spaces. Waters the base of the plants so less water-related leaf damage.

Consistent & Even Watering Drip Irrigation Hose: Makes use of a clog-resistant fabric cover recyceld vinyl for consistent slow soaking seep throughout its entire length. Deliver water to the entire area that it covers. Only certain areas of your garden bed getting watered.For waste-free watering in garden beds and other tight spaces. Waters the base of the plants so less water-related leaf damage.
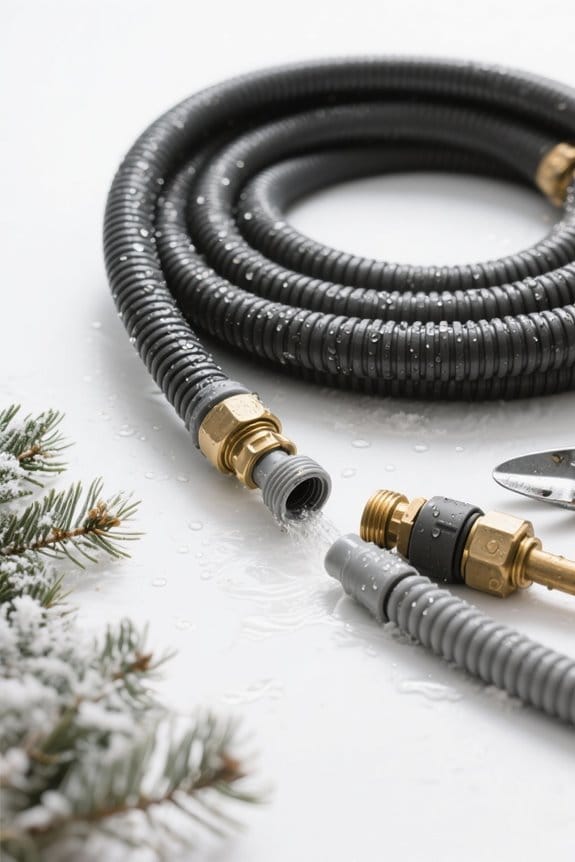
Considerations for Frozen Hoses
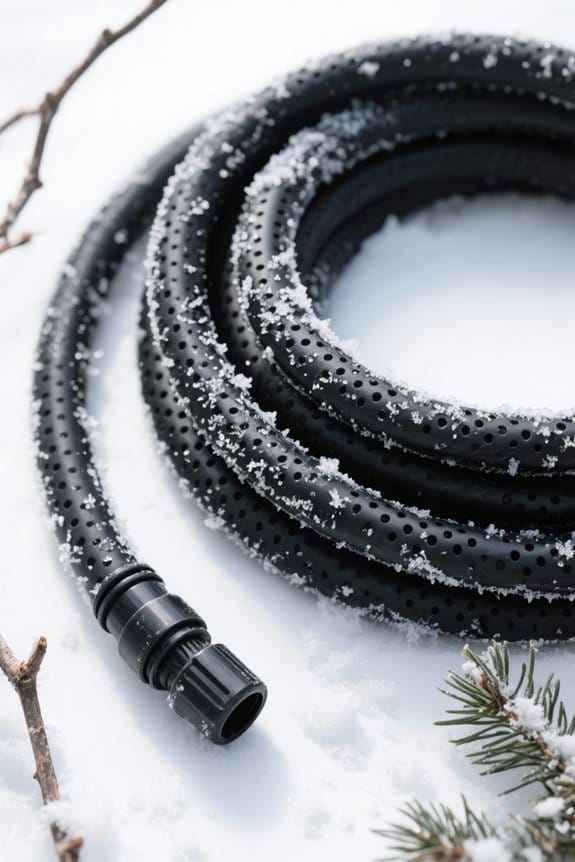
Winter can pose significant challenges for soaker hoses, particularly when temperatures dip below freezing. It is vital to let soaker hoses be left in place until they thaw naturally; moving them while frozen can cause irreparable damage. To avoid frozen hoses, it is advisable to shut off the water supply before the onset of winter and guarantee all trapped water is drained from the hoses. Bringing them indoors can further protect these hoses from extreme temperatures. Regular maintenance is necessary to prevent clogging and ensure efficient water distribution. For added insulation, consider burying soaker hoses or covering them with mulch or leaves. Regular checks during winter months can help identify any signs of damage or leaks, allowing for timely maintenance before spring planting begins.
Recommended Products
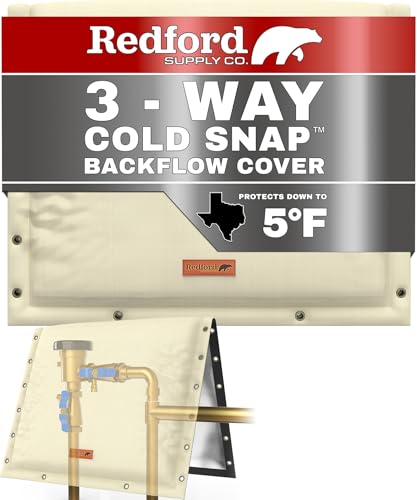
Blocks UV and Heat Damage: The backflow cover features a UV-resistant outer shell that shields your backflow system from cracking, fading, and premature deterioration caused by sun exposure and extreme summer temperatures.

Larger Size 24"W x 36"H - Fit up to 22" wide backflow valves system. Excellent for covering outdoor pipes, well heads, well pumps, irrigation systems, and sprinkler valves. (Suggest measuring the pipe before purchasing, and to reserve 2" or above!)

Save Costly Pipe Repairs: Every winter, many people complain that despite the time they spend wrapping towels and tape around their pipes, the pipes break and leak, and even cost a lot of money to repair. But with this backflow insulation cover, you don't have to spend so much money again. Don’t wait before it’s too late
Preparing for Spring Planting and Setup
Once the winterization process for soaker hoses is complete, it becomes important to prepare them for spring planting. First, mark the buried ends of the soaker hoses to facilitate easy retrieval later. Store the hoses in a dry, shaded location to protect their material integrity. Before storage, run water through them to clear blockages and deter pests. As spring approaches, check soil moisture levels, as adequately winterized soaker hoses can effectively retain moisture, supporting your irrigation system. Additionally, plan your planting arrangements to guarantee even irrigation coverage, considering the layout of crops. This strategic preparation will enhance the efficiency of the irrigation system, promoting healthier plants during the early growing season. To ensure optimal performance, regularly monitor water pressure to prevent spraying and maintain even distribution, as recommended for effective garden irrigation systems.
Recommended Products

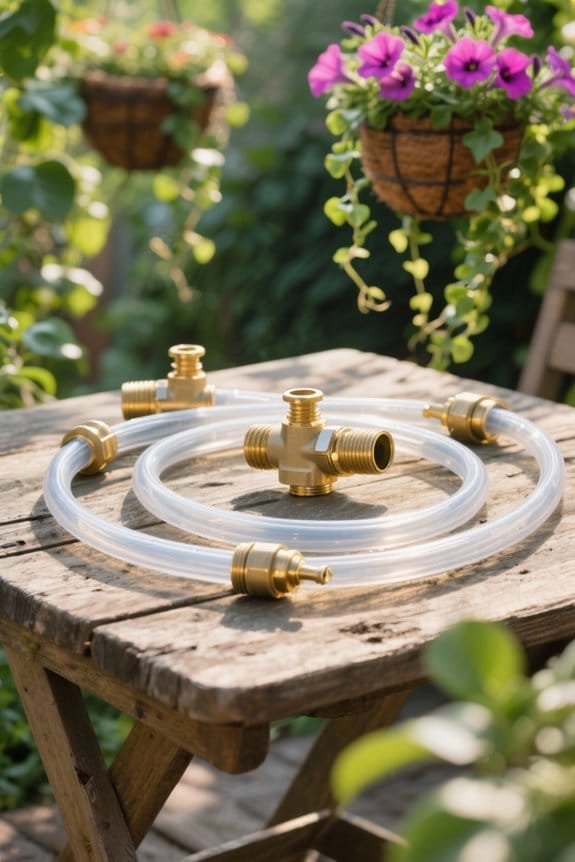
Standard 3/4" Garden Hose Thread Connections

The information below is per-pack only
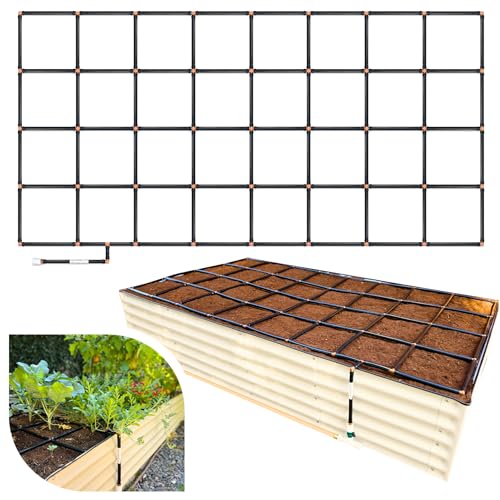
Effortless Watering, Setup In Minutes- The Garden Grid was designed by gardeners, for gardeners - making it one of the easiest-to-use plant watering devices available. It arrives in preassembled sections and sets up in 2-3 minutes. Just connect it to a standard garden hose and you’re ready to grow. It delivers 16 even streams of water per square for consistent, hands-free hydration across your entire 4x8 raised bed. No tools. No fragile drip parts. Whether you're starting your first irrigation system for garden use or upgrading your current garden watering system, the Garden Grid makes it simple, reliable, and built to last.
Frequently Asked Questions
How to Winterize Soaker Hoses?
To winterize soaker hoses, make certain they’re drained and disconnected, then store them in a dry, shaded area. Employ hose protection methods and label for easy spring access, integrating good soaker hose care and seasonal gardening practices.
Should I Drain and Store Drip Hoses During Winter?
Yes, draining and storing drip hoses during winter is essential for effective drip hose maintenance. Following winter storage tips guarantees hose longevity, prevents freeze damage, and aids in seasonal gardening preparations for a successful spring.
Can Rubber Hoses Be Left Outside in Winter?
Rubber hoses, if depleted of water, may survive winter outdoors; however, temperature impacts pose risks to hose material durability. Without proper seasonal maintenance and storage solutions, hidden damages could lead to detrimental leaks come springtime.
Do Drip Lines Need to Be Winterized?
Yes, drip lines require winterization for effective drip line maintenance. Employing winter watering techniques and hose protection options enhances outdoor irrigation tips, ensuring peak functionality and longevity, as part of thorough garden preparation advice for the forthcoming spring.