As an Amazon Associate, we earn from qualifying purchases. Some links on this site are affiliate links at no extra cost to you. Our recommendations are based on thorough research and editorial judgment.

Growing Microgreens From Seed on Your Kitchen Counter
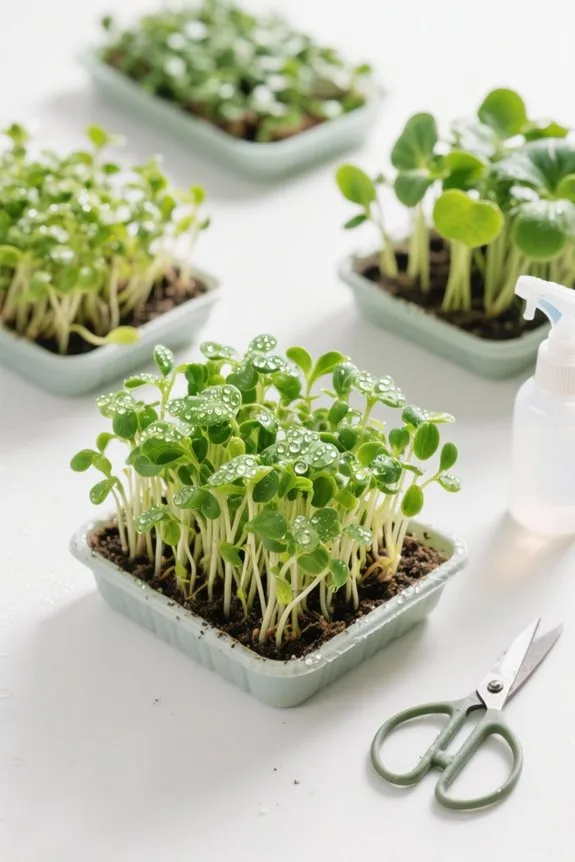
To grow microgreens from seed on your kitchen counter, gather a shallow tray, microgreen seeds, and a suitable growing medium, such as potting soil. Measure 5-10 grams of seeds for a 10×20 inch tray. Fill the tray with 1 inch of growing medium, water from the bottom, and evenly scatter the seeds. Keep the trays in indirect sunlight, monitor moisture levels, and harvest in 10 to 15 days. Additional insights will facilitate your microgreen journey.
Key Takeaways
- Use shallow trays with drainage holes and fill them with quality potting soil to support microgreen growth.
- Measure and evenly scatter 5-10 grams of seeds over the moist soil for optimal coverage.
- water the soil from the bottom and maintain moisture with gentle misting using a spray bottle.
- Place trays in a dark area initially to encourage germination, then move to a sunny spot.
- Monitor daily for moisture and health, harvesting between 10 to 15 days when greens reach 1-3 inches tall.
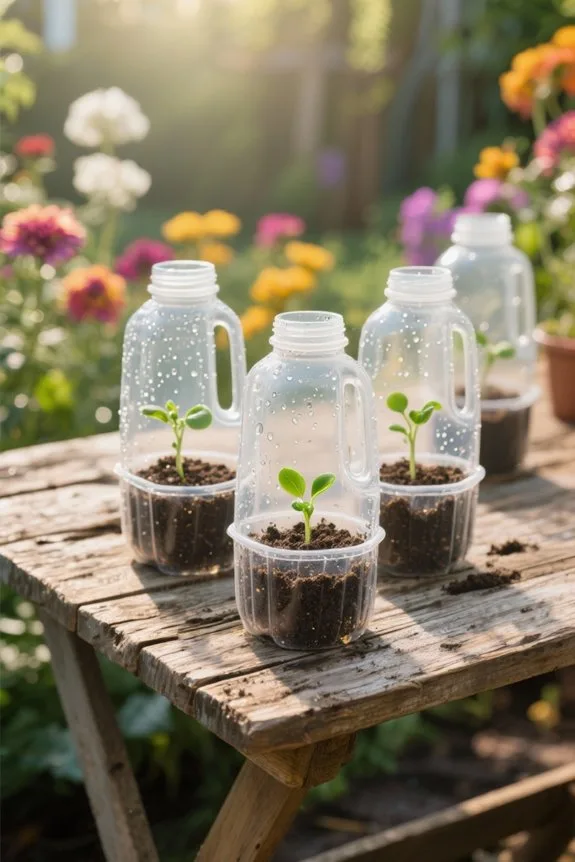
What You Need to Grow Microgreens at Home
To successfully grow microgreens at home, individuals will need several key materials and supplies to create an ideal growing environment. First, a shallow tray, such as a 1010 or 1020 flat with drainage holes, is essential for planting. Next, select quality microgreen seeds, available in various single varieties or mixes, to provide desired flavors and nutrients. A suitable growing medium, such as potting soil, is also necessary to support healthy growth. To keep seeds and soil moist during germination, a spray bottle for gentle watering is vital. Additionally, clean and food-safe containers must be used to prevent contamination. Good-quality drinking water will aid in soaking the seeds and sustaining moisture levels throughout the growth process. When growing microgreens, ensure they receive at least 6 hours of sunlight daily to promote healthy development and optimal growth.
Recommended Products

Make food prep effortless with a workstation sink that adapts to every task; nesting accessories slide along integrated ledges to create a custom workspace right where you need it

MULTI-USE POT: Our timeless and modern plant pots are ideal for your indoor space or your outdoor deck, patio, or balcony. They effortlessly complement any design style and elevate the look of potted real or faux greenery.

Topmount Gold Sink: WORKSTATION kitchen sink with single-tier track - ledges on the front and back provide a track for sliding the built-in accessories, the track provides you with more space to use. This gold drop in kitchen sink allows for top mounting on any type of kitchen counter
Step 1: Calculate and Measure Seeds

Calculating and measuring seeds accurately is essential for successful microgreen cultivation. The recommended quantity for a standard 10×20 inch tray is between 5-10 grams of microgreen seeds. To achieve precise measurements, it is advisable to utilize a kitchen scale, which assures even distribution across the tray. Alternatively, measuring cups can be used for volume-based estimation. Following the specific seed recommendations indicated on the seed packets will further guide the appropriate amount for ideal growth. Ensuring even coverage of the tray’s surface allows for healthy air circulation and promotes growth. For those using larger seeds, pre-soaking is beneficial to facilitate faster germination and improve seed viability before planting begins, enhancing the overall success of the microgreens. Incorporating ergonomic design principles into your gardening approach can minimize physical strain and enhance your gardening experience.
Recommended Products

Accurate Portion Control: Save money and maintain consistent portion sizes. This scale displays both imperial (lb/oz) and metric (kg/g) measurements, ensuring precise portion management

Lb/Oz/Kg/grams switchable, Easy Operating, NTEP Approved Legal for Trade, COC #22-007, NSF Certified

[Versatile 5-Unit Conversions & Impressive Capacity] The Bromech high precision scale offers exceptional flexibility with five unit options: kg, g, lb, oz, and lb:oz, featuring a maximum display weight of 30kg (66lb). Whether it's measuring culinary ingredients, shipping packages, or tackling DIY projects, this professional scale adapts effortlessly to your diverse needs—delivering accurate weight displays for both lightweight items and heavier loads alike.
Step 2: Prepare Trays and Growing Media
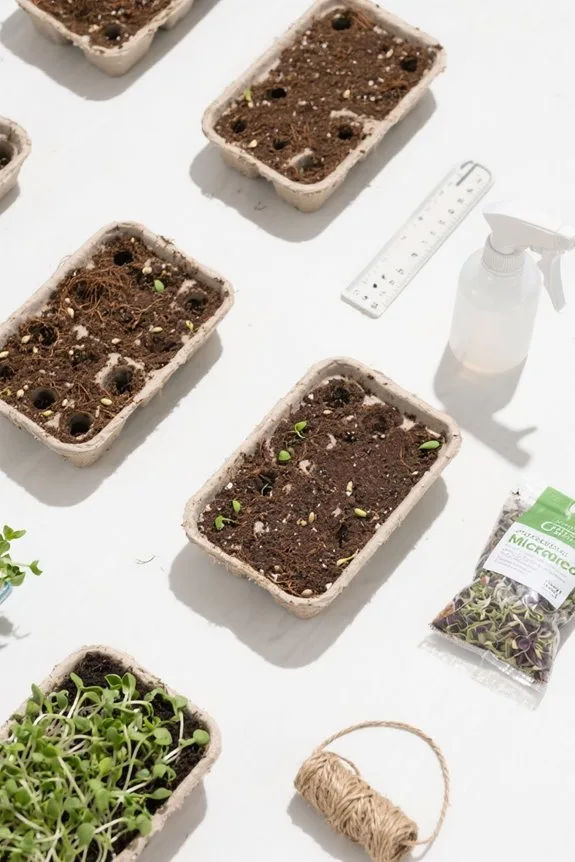
Preparing the trays and growing media is an essential step in the cultivation of microgreens, as it directly impacts germination and growth rates. Select flat growing trays that are food-safe, clean, and equipped with drainage holes to prevent waterlogging. Fill each tray with a suitable growing medium, such as a peat-based mix or coconut coir, ensuring a depth of about 1 inch. To moisten the growing medium, water from the bottom to avoid excess pooling on the surface. Check that the medium holds its shape when squeezed, indicating adequate moisture levels for germination. Open pollinated seeds, known for their resilience to pests and diseases, can be an excellent choice for growing microgreens. Finally, prepare enough trays for the desired seed quantities, placing them in an area with indirect sunlight to facilitate successful emergence.
Recommended Products
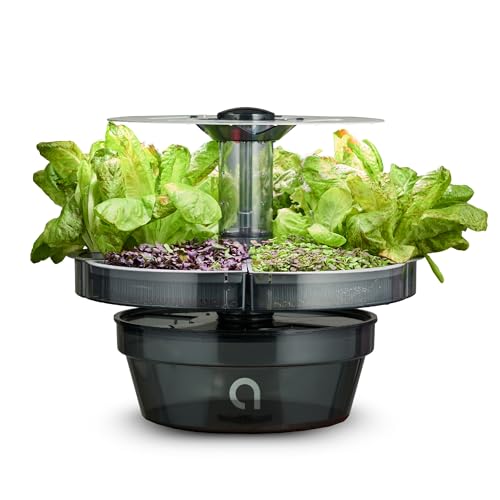
Aquatree Garden ATL1 Hydroponic indoor growing kit includes everything needed to grow: hydroponic garden tabletop planter with removable trays, seed starter kit, plant food, water pump, Grow Plugs, and LED light

You will receive 30 trays per order. Each tray measures 10 x 20 x 2.5 inches in dimension. These propagation trays are the standard size for the U.S. and Canadian markets, they are the perfect size to meet all your needs. Whether you are expanding your gardening activities or replacing old trays, SunPack won't let you down.

Withstands Commercial Use; Built with a one point eight to two millimeter thick polypropylene wall that flexes without cracking for multi-season reliability
Step 3: Seed Your Trays
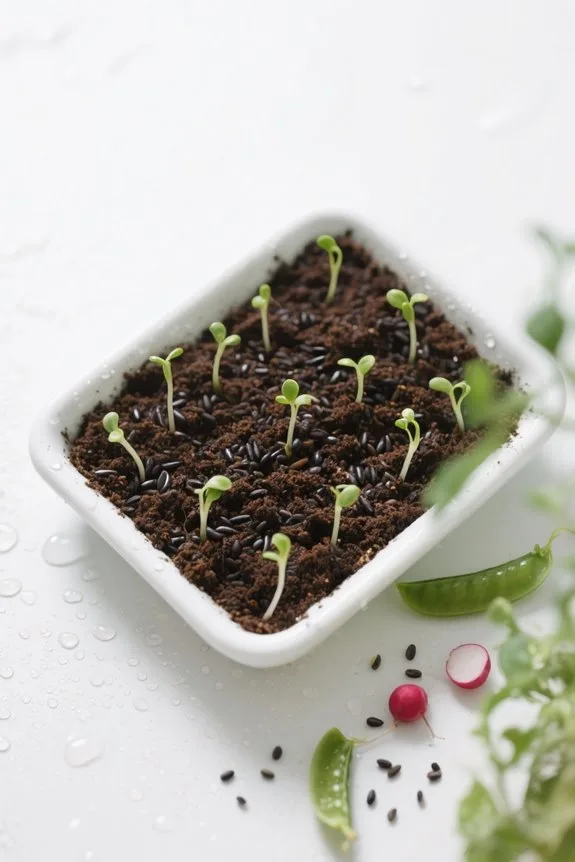
Once the trays are prepared with a suitable growing medium, the next step involves seeding them properly to secure ideal growth. To seed your trays, evenly scatter the measured microgreen seeds across the surface of the moist soil. This assures adequate coverage without overcrowding. Gently press the seeds into the soil, as most microgreen seeds do not require covering, which helps maintain air circulation. For larger seeds, consider pre-soaking them to accelerate germination. After seeding, lightly mist the surface using a spray bottle to maintain consistent moisture levels. Initially, position the trays in a dark location to facilitate germination, avoiding direct sunlight until the seeds begin sprouting into fresh microgreens. Certified organic seeds undergo rigorous testing for quality, ensuring high germination rates and reliable growth. Monitor progress regularly for the best results.
Recommended Products

Pepper Seeds, Sweet - Marconi Red - Organic -- 1 Lb ~80000 Seeds -- Capsicum annuum

🌸This exclusive selection of 9 varieties of annual and perennial flower seeds provides gorgeous and easy-to-grow wildflower seeds . Wildflower seeds bulk for planting in your garden, farm, or field. Our Southeast Wildflower Seed Mix is specially formulated to thrive in the southern states of the USA including Georgia, Alabama, the Carolinas, Florida, Louisiana, Mississippi, & more.

Watermelon Seeds - All Sweet - 5 Lb ~32,000 Seeds - Citrullus lanatus
Step 4: Microgreens Growth and Management
After germination, it is important to provide the microgreens with the right conditions for perfect growth. Exposing the trays to sunlight, especially in south-facing windows, promotes healthy growth while enhancing the high nutritional value of the microgreens. This exposure increases antioxidant accumulation, benefiting health. Regular moisture monitoring is essential, as too much water can lead to root rot; guarantee the growing medium has proper drainage. To achieve uniform growth, rotate the trays daily so each side receives light equally, preventing seedlings from leaning. Additionally, it is important to watch for signs of disease or pest infestations. Maintaining ideal conditions and hygiene is essential for successfully growing microgreens. Proper management leads to robust plants ready for harvest.
Recommended Products

Thermoformed trays are specifically designed to ensure consistent performance in automated filling and handling equipment. These trays are carefully crafted to meet your demands

You will receive 30 trays per order. Each tray measures 10 x 20 x 2.5 inches in dimension. These propagation trays are the standard size for the U.S. and Canadian markets, they are the perfect size to meet all your needs. Whether you are expanding your gardening activities or replacing old trays, SunPack won't let you down.
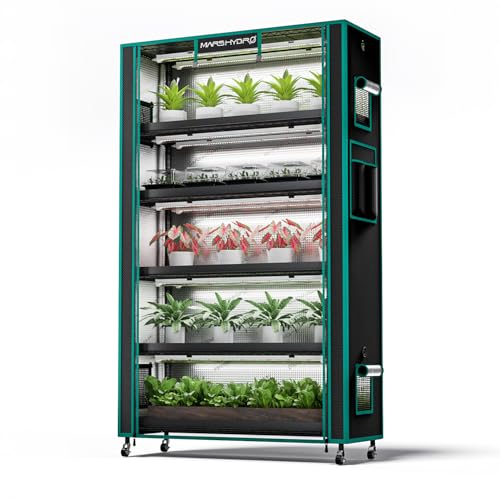
Plant Stand With Wheels: The indoor plant shelf is made of high-strength metal frame + rust-proof and scratch-resistant powder coating, with a single-layer load capacity of up to 50 kg. The height of each layer can be freely adjusted to perfectly accommodate plants of different heights from 30 to 180 cm. Equipped with four lockable swivel casters at the bottom for stable and convenient movement, helping you easily organize flowers, vegetables, and seedlings.
Step 5: Microgreens Harvest
Harvesting microgreens requires careful timing and proper technique to secure the best flavor and nutritional value. Microgreens are typically ready to harvest between 10 to 15 days after germination when their cotyledons and first true leaves emerge. To guarantee a clean harvest, use a sharp knife or clean kitchen scissors to cut the microgreens just above the soil line. This method promotes preservation of the delicate greens and enhances storage options. It is advisable to wash microgreens before consumption; however, washing may reduce their shelf life. Alternatively, unwashed greens can be stored at low temperatures for longer freshness. For ongoing supply, growers should start a new tray of microgreens weekly, securing a fresh harvest every few days. Introducing varieties like Zinnias in your garden can attract beneficial insects and enhance biodiversity, creating a thriving ecosystem.
Eating Your Microgreens
Enhancing meals with microgreens offers a quick and nutritious option for those seeking vibrant flavors and added health benefits. Typically ready for consumption within 10 to 15 days after germination, these small greens can greatly enhance the flavor and nutritional profile of salads, sandwiches, and various dishes. To enjoy peak freshness, harvested microgreens should be cut at the soil line using clean kitchen shears or a sharp knife and consumed the same day. Washing them with a vinegar solution helps remove any contaminants. After rinsing, spinning them dry extends their shelf life. For storage, placing harvested microgreens in a glass container with a paper towel can keep them crisp and prolong freshness, ensuring quality in every bite. Some Venturi injectors are suitable for organic fertilizers, making them an efficient choice for gardeners aiming to use organic nutrients.
Frequently Asked Questions
Can You Grow Microgreens in Your Kitchen?
Yes, microgreens can be successfully grown in kitchens. Ideal kitchen lighting, careful seed selection, and effective moisture control are essential for healthy growth, enabling home cultivators to enjoy fresh greens regardless of the season.
Do I Need a License to Sell Microgreens Near Me?
Could selling nutritious microgreens in local markets really be that simple? It often requires maneuvering through microgreens regulations, obtaining selling licenses, and ensuring compliance with health directives, which vary considerably across different regions and states.
What Is a Possible Downside to Microgreens?
A potential downside to microgreens includes pest problems that may arise during cultivation. Additionally, variations in nutrient content and noticeable flavor differences among species can affect their culinary versatility and overall desirability in different dishes.
Can You Grow Microgreens Indoors?
Certainly, cultivating microgreens indoors provides unparalleled perks. Indoor gardening thrives under proper indoor lighting, enabling homegrown greens year-round. Their vibrant flavors and nutritional benefits enhance meals, making this practice an appealing choice for health-conscious individuals.